Step 1 - Remove Old Hardware
Take off any existing hardware if you can. It will be much easier than painting around it. Plus, your freshly painted door might deserve some new gorgeous pieces! If you absolutely can't remove ensure you use some good masking tape and carefully apply to keep any existing hardware protected.

Step 2 - Fill any holes
Don't panic if you have holes from existing hardware - they can be filled and you can choose new hardware! You will need to use a specific filler such as product such Stelmax Upvc Filler and Repair Paste. The trick to remember with filling uPVC is that the first 'fill' may sink a touch, so either ensure to slightly overfill the hole to allow for the sinkage OR you can add another layer of filler if needed after the first is dry. After the filler is dry, you can sand with a fine sandpaper until its smooth to the surrounding door.

Step 3 - Clean, Sand and Mask
Its worth spending the time to prep your door to ensure the best finish possible. Start by giving it a good clean to remove any dirt and grease. Then sand it down with some fine sandpaper to create a surface for the paint to easily adhere too. Use masking tape to cover any glazing or to cover hardware that can't be removed. After that you are ready to paint!


Step 4 - Choose the right paint
There are many options of paint that are suitable for exterior uPVC & composite front doors and they come in a variety of colour options - hooray! These new formulations don't require a primer either, which is a big bonus. For the widest range of colours, avoid the local DIY shop and head to a specialist decorators centre to get your paint mixed. We love:
Dulux Weathershield Multisurface - Chose one of amost 200 colours, mixed for you at a Dulux Decorator Centre
Rust-oleum Upvc Paint - The go to brand for paints for difficult surfaces has its own uPVC specific paint and it comes in almost 90 shades.
Frenchic PVC - A paint brand often recommended by our US Followers
You'll find that its super easy to paint uPVC (we find it much easier than painting wood). We used a paintbrush in the panel creases and a roller for the flat surfaces and reduce brush marks. Ensure you're super patient before adding the second/third layers, its really important the paint has curing time so look at the paint drying time for your brand but wait at least this long.
TOP TIP: Don't paint when its very cold. Most brands will have a minimum temperature on their packaging to ensure the paint performs and dries to the right standard (Usually around 5-6 degrees).

Step 5 - Hardware
Now you have a beautifully painted, gorgeous coloured door, why not add some gorgeous new hardware for the the perfect finishing touch? Our hardware can be installed as easily on uPVC and composite doors as it can on wood.

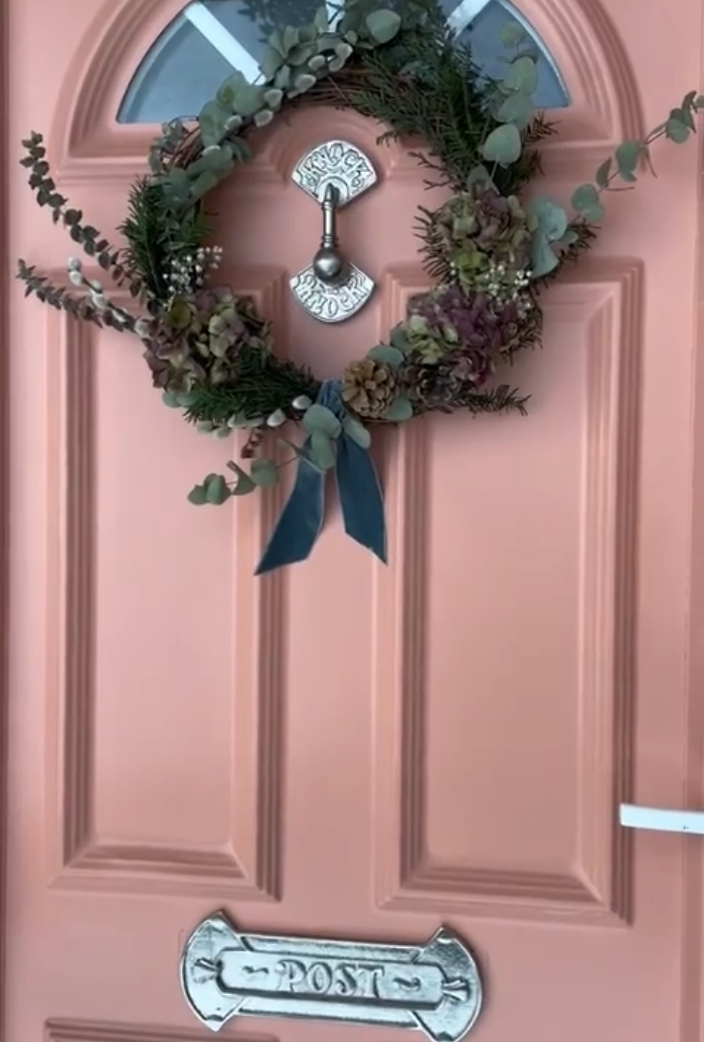
BEFORE & AFTER - Those are the steps that took this slightly sad, bland door to something that makes a great first impression!


All our hardware including door knockers, letterboxes, door pulls and door numbers can all be installed on both PVC and Composite doors.
